
Most Auckland solar systems haven't been professionally inspected since installation. The monitoring app keeps showing numbers and nothing looks obviously wrong. What it can't show is what's accumulating on the panels between visits, or what that's costing in lost output. This checklist covers what to check yourself, what a professional visit should include, and when to act.
Solar panel maintenance covers more than most homeowners expect. There is what you can do yourself between visits, what requires a professional, how often each applies, and what to watch for in the meantime. If you are looking for the broader case for why maintenance matters across the life of the system, the solar panel maintenance plan article covers that. This article is the practical reference.
These are the checks you can run yourself from the ground, a few times a year between professional visits. None of them require getting on the roof.
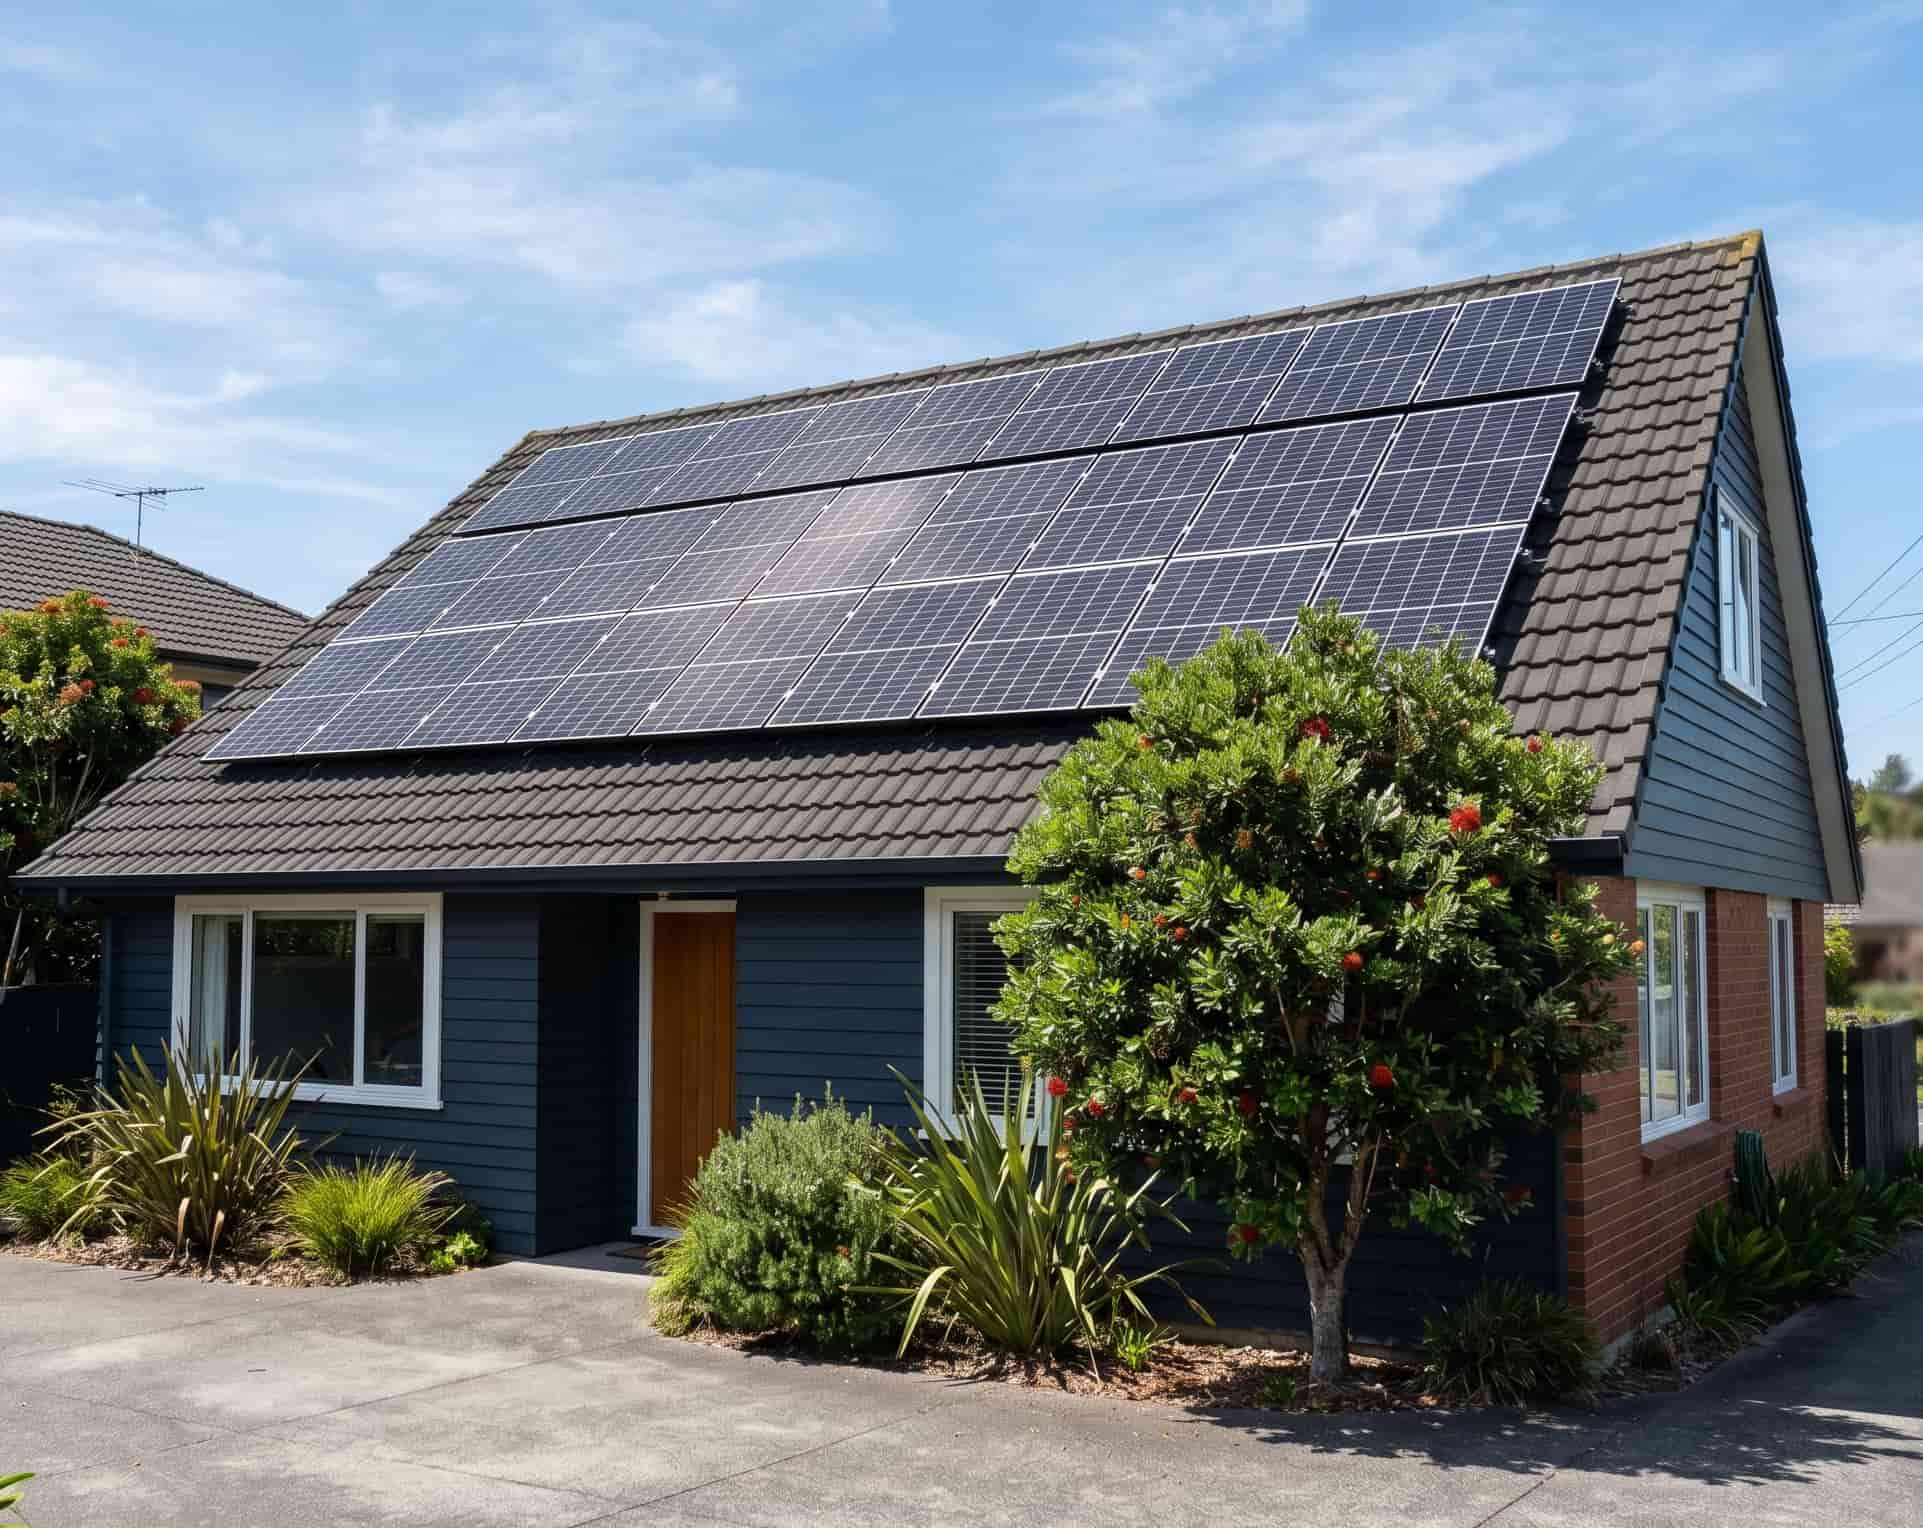
Look across the panel surface from ground level. Dust and pollen leave a dull, even film across the surface that partially clears after rain. Pale, greenish, or whitish patches that remain unchanged after multiple rain events are biological growth. Streaking white lines are bird droppings. Each type has a different implication. Dust is low priority. Bird droppings and biological growth are not.
Biological growth does not begin in the middle of the glass. It starts at the lower frame margins, where the glass meets the aluminium frame, and spreads inward from there. A faint green or grey tinge at those edges is an early signal worth taking seriously, even if the rest of the surface looks clean. When panels are viewed close up, what looks like a small patch at the frame margin often covers a larger cell area than it appeared from the ground.
Look for debris collecting at the edges of the array, or birds repeatedly returning to the same spot on the roof. Nesting material under the panels is a different category of problem from droppings on the glass. It accumulates against cabling and mounting hardware and warrants flagging at your next professional visit rather than waiting.
Open your inverter app and compare your clear-day peak output with the same week last year, using similar weather days. A meaningful and consistent drop is a reason to bring a professional visit forward. Small daily variation is normal. A sustained lower baseline is not.
If your panels are accessible without ladder risk, a soft-bristle brush on a telescopic pole with gentle water flow handles light surface dust and pollen. Do not use a pressure washer, abrasive materials, or off-the-shelf chemical cleaners. These risk scratching the anti-reflective coating permanently and may void your manufacturer's warranty. For any visible biological growth, anything green or pale that does not shift after rain, stop here. DIY removal once growth has bonded to the glass is unlikely to work and carries real warranty risk. That is a job for a professional visit.
Use this section as a reference when booking or evaluating a solar maintenance provider. A visit that covers only some of these items is not a full maintenance visit.
The technician should record what the system is producing before anything is touched. This is the before reading. Without it, there is no objective reference point for what the visit achieved.
Each panel should be checked for cracks, impact damage, discolouration, and delamination. Delamination shows as a cloudy or yellowed area on the surface. It begins as something that looks cosmetic and progresses to permanent cell output loss if unaddressed.
Aluminium frames and the stainless steel fasteners used in compliant NZ installations carry good corrosion resistance under normal conditions. Over time, galvanic corrosion develops at the contact points where dissimilar metals meet, typically where mounting hardware meets roofing material and the isolation washers between them have degraded. Mounting clamp tightness gets checked on every visit. A loose clamp causes the panel to flex in wind. The resulting micro-cracks in the cells will not appear on the monitoring app until the damage has progressed.
Cables running from the panels along the roof surface to the inverter should be checked for UV degradation of the outer sheath and confirmed as securely attached. Unsecured cables chafe in wind. Cracked sheaths expose live conductors. Neither shows on the monitoring app unless a complete fault takes the system offline.
Each point where mounting hardware passes through the roof surface has a weatherproof seal. UV exposure degrades these over time. Because the array covers the penetration points, standard roof checks often miss deteriorating seals until water has already entered the structure.
The risk profile here depends on your installation date. On systems installed before around 2019, rooftop DC isolators were standard and many were installed without a mandatory protective weather shroud. An unprotected isolator exposed to Auckland's UV and moisture is a documented cause of solar fires in Australasia. On systems installed from 2022 onwards, updated standards removed the rooftop isolator requirement for most residential systems. Many newer installations have no rooftop switch at all, with disconnection points located under the array instead. Where a rooftop isolator is present, the external casing is checked for cracking, UV degradation, and signs of water ingress. No internal components are touched. Anything flagged is referred to a qualified electrician.
The technician should check under the full array for nesting material, debris accumulation, and signs of ongoing bird activity. This is documented in the condition report regardless of what is found.
This is a distinct step from the glass check. The technician records what type of growth is present, where it is, and how established it is. Light discolouration at the frame margins that responds to standard treatment during the visit is a different situation from lichen covering cell area across multiple panels. That assessment determines whether the standard visit is sufficient or whether a separate remediation visit is needed. For a full explanation of what biological growth does to output and what treatment involves, the lichen and biological growth article covers this in detail.
General soiling is addressed with a pure water clean. Early biological growth is treated in the same visit. Heavy established lichen is a separate billable service. The clean follows the inspection, not the other way around.
A second reading is taken after the work is done and compared against the before reading. This comparison is a useful field indicator rather than a laboratory measurement. Solar irradiance and panel temperature shift between readings, so the comparison is directional rather than exact. If output is noticeably higher after the clean, the contamination was costing real generation. If it barely moves, the system was already running close to its potential for those conditions, and the inspection findings stand on their own.
The visit should close with a written record: contamination type and severity, biological growth assessment, hardware findings, before and after photos, inverter readings, and any referrals to a qualified electrician or other trade. That report is your maintenance record and the baseline for your next visit. For a full breakdown of what a condition report should cover, the solar panel inspection article has the detail.
For full information on what MiHT's solar panel care includes across Auckland, visit the solar care page.
Your DIY visual check is worth doing three or four times a year, and after any significant storm or period of heavy bird activity.
Your professional visit interval is condition-based. For most Auckland residential installations, every one to two years is the right starting point. Several factors point toward the shorter end of that range, or tighter:
If your system has never been professionally inspected since installation, that is the most pressing reason to act regardless of how the glass looks or what the inverter reports. A professional visit is what creates the baseline everything else is measured against. For systems that have never been seen by a professional, the solar panels never been serviced article covers what a first inspection typically finds.
For a fuller breakdown of performance warning signs, the signs your solar panels aren't performing article covers these in detail.
If you want to know where your solar system actually stands right now, the Home Energy Health Assessment takes three minutes. It covers solar, heat pumps, and ventilation, and gives you a personalised starting point before you decide what to do next.
Your system was designed to produce output across 25 years. Whether it does depends on what is happening to it between visits.
Solar panel maintenance in NZ covers both your own between-visit checks and what a professional does on the visit itself. Between visits: ground-level visual checks for contamination type, frame margin growth, bird activity, and monitoring data comparison. A professional visit covers a full system inspection across glass, frames, cabling, isolators, seals, and bird activity. It also includes a biological growth assessment, a pure water clean, before and after inverter readings, and a written condition report. The inspection has value independent of the clean.
Your most reliable ground-level signals are patches that remain unchanged after multiple rain events, white bird dropping streaks that have dried and bonded to the glass, and a consistent monitoring drop compared to the same period last year. Dust and pollen shift partially with rain on a well-pitched roof. Biological growth does not. A faint tinge at the frame margins is worth acting on even if it looks minor; growth is consistently more extensive when assessed close up than it appears from the ground.
Yes, within limits. A soft-bristle brush on a telescopic pole and gentle water flow handles light surface dust and pollen on panels accessible without ladder risk. Do not use a pressure washer, abrasive tools, or off-the-shelf chemicals. For any biological growth, anything that does not shift after rain, DIY removal carries real warranty risk and is unlikely to work because the growth has bonded to the glass. That is where a professional visit is needed.
In most cases, no. Failing to clean annually does not void manufacturer warranty. It is the cleaning method that warranty clauses typically address. Using a pressure washer, abrasive materials, or unapproved chemicals gives the manufacturer grounds to decline a warranty claim on any subsequent fault. The act of not cleaning is not the risk. The method used when cleaning is.
Every one to two years is the right starting point for most Auckland residential systems. Flat or low-pitched roofs, coastal locations within 500 metres of the ocean, west-facing panels, significant bird activity, and any visible biological growth all point toward 12 months. If the system has never been professionally inspected since installation, book regardless of how it looks. A professional visit is what creates the baseline.
Biological growth looks different from general dust. Pale, greenish, or whitish patches that remain unchanged across multiple rain events, typically appearing first at the lower frame margins, are the main indicators. Dust and pollen leave a dull even film that partially clears with rain. Growth still present after several wet days is almost certainly biological. The extent visible from the ground is consistently less than what inspection from close up reveals.